5 Stages to Improve Your Miata

The Miata has captured the hearts of automotive enthusiasts worldwide with its nimble handling, timeless design, and pure driving experience. In this post, we'll guide you through the steps to building the perfect Miata that reflects R Theory Motorsport’s style and driving preferences.

Selecting the ideal Miata gen sets the foundation for your build. Whether it's the NA, NB, NC, or ND--all offer unique characteristics and potential for customization. Consider budget, desired features, and availability when making your choice.

  1. Once you get past that, start with maintenance and safety first. Make sure your Miata is up to date with maintenance, especially the brakes before you begin building. Stock rotors with an aggressive pad are usually good until around 250 whp. Be sure to flush your fluids and run high temp brake fluid if you are tracking. Once you decide you need more stopping power, there are a lot of big brake upgrades to choose from. Don’t forget those stainless steel lines!

    The next step in safety would be rollover protection.Say NO to style bars! A proper roll bar will not only save your life, it helps make the chassis more rigid too.

  2. After maintenance and safety, handling should be addressed. Door bushings and frame rail braces make a huge difference to the car prior to touching suspension. We like adjustable coilovers on our cars and in a different post, we will share with you the best proven alignment specs. Don’t forget to test and tune with sway bars and endlinks.

    When it comes to wheels and tires, we like the idea of choosing the correct setup for your power level and needs. 195s will feel like it accelerates faster but 205s will have better grip. 15x7 is enough for anything under 200 whp but beyond that, you might want to look at 15x8 or 15x9 and 225 wide tires.

  3. The interior is all up to you--lots of aftermarket options for steering wheels, shifters, and seats. We like a spartan minimalist interior, because race cars.

  4. This brings us to power. An ND needs nothing, maybe some bolt ons and a tune. NA through NC has a lot of options though! From the proven turbo setups, to 2.5L Ford swaps, to my personal favorite--a K-series swap. The world is your oyster! Just make sure you have a good radiator, intercooler, and cooling setup for when things get hot.

  5. Finally, with power comes the need to hold your car down to the ground. A limited slip differential is essential for this, as well as aerodynamic parts such as a front splitter and wing for the hardcore guys and gals. At this point you might want to look into other parts that decrease drag like smaller mirrors, fender and hood vents, as well as diffusers.

We hope you enjoyed this blog entry! As always, we’d love to hear your comments so feel free to chime in below!

December 4, 2021 - NC MX-5 added to the fleet!

This trip took place in June 2021.

For years R Theory has been developing parts for the NA/NB chassis; using our own cars and local customer cars to test fit our parts and ensure compatibility with various different model years and configurations. We figured it was finally time to expand even further and pick up another car to add to the development fleet. We were stuck between getting an FRS/BRZ or getting an NC MX-5. We figured might as well keep it in the Miata family so we picked up a 2010 NC MX-5 for development!

The search for a new development car was quite ambitious. NC’s that lined up with our requirements (rust free, in good shape, GS or GT model w/ 6 speed and LSD) usually sold quick unless they were over priced. There was one NC out in Calgary that I felt was calling. It seemed to exceed our requirements and it was and NC2 priced similar to an NC1, but for some reason it didn’t sell for weeks. Calgary was quite a ways away from where we are located near Toronto. After what seemed like a couple weeks of sending pics and videos, and negotiation, a deposit was sent to the owner of this grey PRHT 2010 NC2 and a one way plane ticket to Calgary was purchased.

Quick 4 hour hop into the mountains!

After landing, I met up with the owner and checked out the car. The condition was exactly how he described it. He even had the courtesy to fill up the gas tank and give it a fresh wash, much thanks to the previous owner Al! A temporary vehicle permit was registered and I set out on the long 1 week journey back to R Theory HQ.

Before heading east to get home, I decided to spend a couple of days in the mountains. Calgary is right at the foot of the Rocky Mountains, a vast and beautiful stretch of mountains that runs along western Canada and into the western United States. It would be silly of me to not explore it before heading back to flat and mundane Toronto!

Exploring the mountains was a good decision if you ask me!

Day 1 stretch, deep into the heart of the mountains.

I headed west to visit the world famous Lake Louise. I left Calgary’s beautiful pristine weather and headed into the mountains. The further into the mountains I got the rainier it got that day. I stopped by Lake Louise’s parking lot but didn’t get out of the car. It was too rainy to enjoy, so I kept heading west knowing I’ll come back tomorrow when the rain has passed. I kept going and passed the border of Alberta/British Colombia. I ended up staying the night in a sleepy town called Golden, 265 km (165mi) and roughly 3-4 hours away from Calgary.

Quick stop to enjoy the view! Check out that JDM imported Mitsubishi van to the right!

Moments before the quick stop picture, I actually got pulled over. I legally had my temporary permit displayed on my windshield, but because I only had a temporary permit that meant I had no license plate which attracted the attention of a kind RCMP officer. Once I showed her my temporary vehicle permit she set me on my way and I was back to exploring the mountains in a few minutes.

The view from Golden, B.C. in the morning. Wouldn’t mind waking up to this every day!

After spending the night in Golden, I committed the entire next day to heading back east to explore Lake Louise and other spots in Banff National park.

Quick stop on the way to Banff. There’s an NC / boat joke in here somewhere.

NC2 (2009-2012) is my favorite NC front end. What’s yours?

Arrived at Lake Louise a few hours after leaving Golden, B.C. Ended up going for a surreal 5-6 hour hike. Here’s a few pics of the scenery!

After spending the day exploring Lake Louise and Banff, I knew the fun ended and the task of heading home was going to begin the next day. I spent the night in Banff and woke up bright and early the next day to start heading east. On my way back from Banff I decided to take the long way around Highwood Pass, which is the highest elevation road in Canada! I saw a bear and several deer. Didn’t take pictures of them unfortunately, but check out the view!

Rest stop at the top of Highwood Pass. 2206 meters / 7237 feet in elevation.

First stretch of heading east after driving Highwood Pass. Google said 8.5 hours, seemed more like 10+ hours. Everything taking longer than expected was a re-occurring theme on this trip.

Headed further east the next day and made a quick stop at the Centre of Canada. Yes we Canadians spell centre in a weird way.

Stuck in the middle with you.

The rest of the trip was just me rushing to get home ASAP and trying not to do anything risky. I was constantly paranoid about deer and moose, and trying to get to the next city to have a place to sleep before night fall. Locals constantly warned against driving the twisty 1 lane highways at night due to wild life running across the road. It would be very bad to hit a large moose in a tiny MX-5 that was just bought! One night I actually didn’t make it to my destination city before it got dark, so I ended up sleeping in the car along side tractor trailers at a rest stop. Luckily that was the last night and the next night was spent in my own bed.

Anyways, that was a fun car buying experience. Check out the NC Parts that we currently offer by clicking here!

May 19, 2021 - 5 Ways Mountain Biking Can Sharpen Your Driving Skills

2020 and 2021 have been weird years for everyone. Regardless of how crappy they were, it left a lot of people with extra time on their hands to pursue various hobbies. Some people finally had time to finish their Winter 2019 builds and more people participated in solo outdoor activities. Even the shelves at Bike Shops were bought dry with inventory not expected to return to normal levels for a few more years. I personally bounced between my car and mountain biking hobbies in phases, but 2020 was the first year where I participated in both at the same time. Participating in both hobbies made me realize how mountain biking teaches you skills that will carry over to Performance Driving and make you a better driver.

First off not all mountain biking disciplines are the same, just like how not all motorsports disciplines are the same. The most popular types of riding are: Cross Country (XC), All Mountain (AM), and Downhill (DH) mountain biking. There are more categories than 3, but we won’t get into those now. Cross Country riding is mostly done on relatively flat trails. There will be some climbs and descents, but you won’t be blazing down the side of a mountain. All Mountain riding is smack dab between XC and DH riding. You pedal to the top of the mountain on a technical trail, then you decent downhill through a super technical and challenging single-track trail. Downhill riding is usually taking a chairlift to the top of a super high mountain and dropping down even more intense trails. Now that you know the basics between the different mountain bike categories, here are 5 ways I found to relate mountain biking skills to performance driving:


1) Look Where You Want To Go

Mountain Bikes and Miatas

Everyone knows that looking where you want to go is everything in performance driving. You’re supposed to look far ahead so that you can anticipate things earlier and plan how you’re going to pilot your car through the next few corners as fast as possible. Looking where you want to go is super important in mountain biking as well. In fact I think it’s even more critical to look ahead in mountain biking. When you’re cycling through a trail you’re faced with so many more obstacles. There are roots and rocks peering through the dirt just waiting to throw you off your bike. There are ridges and drop offs that can add difficulty to a climb or decent. There are corners with roots, ridges, and rocks just waiting to test the safety rating of your helmet. So looking ahead and choosing your line is a critical part of mountain biking. Since looking far ahead and choosing your line is more strenuous on a trail, it makes looking far ahead and choosing lines on a racetrack as easy as breathing.

2) Making Decisions While Physically Stressed

Whenever I tell my non-car loving friends how tiring driving on the track can get, they’re always surprised to hear how physically exerting it can be. I don’t blame them because they’re only exposed to driving on the street, and that’s not tiring at all. When you’re driving at the limit of your home grown track car for 20 minutes, it gets tiring. No powersteering, insane G Forces, and adrenaline all eventually tire you out and reduces your decision making abilities.

Whether you’re blazing through a technical blue diamond XC trail or hurling down the side of a double black diamond DH trail, decision making is everything. Like I mentioned earlier, picking your line ahead of time is super critical if you want to go fast… or at the very least don’t want to crash. You’re forced to make so many decisions while you’re constantly being physically stressed. I would say in addition to being more physically stressed, you will be making more decisions while mountain biking versus a typical HPDE day. Once your mind learns to cope with making decisions while being physically stressed, making line choices behind the wheel of a track car become a little easier.

Man’s best riding partner.

3) Trust Your Tires

Grip is everything whether your on the track or on a trail. In order to go fast, you need to be able to find the limit of your tire’s grip on a variety of surfaces. On a trail you can have sections with nicely compacted dirt, and then transition into sections with loose sand that doesn’t have as much traction. If you don’t adapt to changing conditions you’ll have a mishap.

4) Weight Distribution is Key

When flying through a corner on the track, managing your car’s weight distribution is everything. Too much rearward weight in a corner will make you understeer, too much frontward weight will make you oversteer. The same concepts apply when taking corners on a trail. You also have the added concerns of weight distribution when climbing and descending. More weight over the rear tire when climbing steep hills helps you gain more traction. But if you are too far back, the front wheel will lift off the ground during a climb and that can throw you backwards off a bike. When descending it’s best to keep your weight as far back as possible to prevent yourself from flipping over the handle bars. Sometimes you even have bumps mid-corner that can throw your front tire in the air. Learning how to manage weight distribution on a trail will relate to managing weight distribution behind the wheel of your track toy.

5) Smooth is Fast

Look at that cambered corner goodness, just like a racetrack!

Smooth driving doesn’t always look fast on video, but everyone who does performance driving knows smooth driving = fast driving. You can only ask so much from your tires and chassis. If you’re flying through a corner at the limit and you suddenly jab on the brakes or jerk the wheel, you will upset the balance of the car and loose speed. The same applies to cornering on a bike. When cornering on a trail with roots sticking out and changing grip conditions, smoothness is even more important in order to get the best possible cornering speeds. Once you learn smoothness on a trail, being smooth on a relatively smooth racetrack is much easier to do.

Conclusion

It’s always riding season!


Those are 5 ways I found mountain biking skills can carry over to track driving. With Covid lockdowns affecting our local racetracks this year, I will probably be spending more time at the trails than our local racetracks in 2021. Hopefully my driving skills will stay reasonably sharp with the implementation of these tips.

Mountain biking of course isn’t for everyone, but I’m sure there are other sports that can help sharpen your driving skills. If you can think of any, let us know in the comments!

April 11, 2021 - Car Photography for Beginners

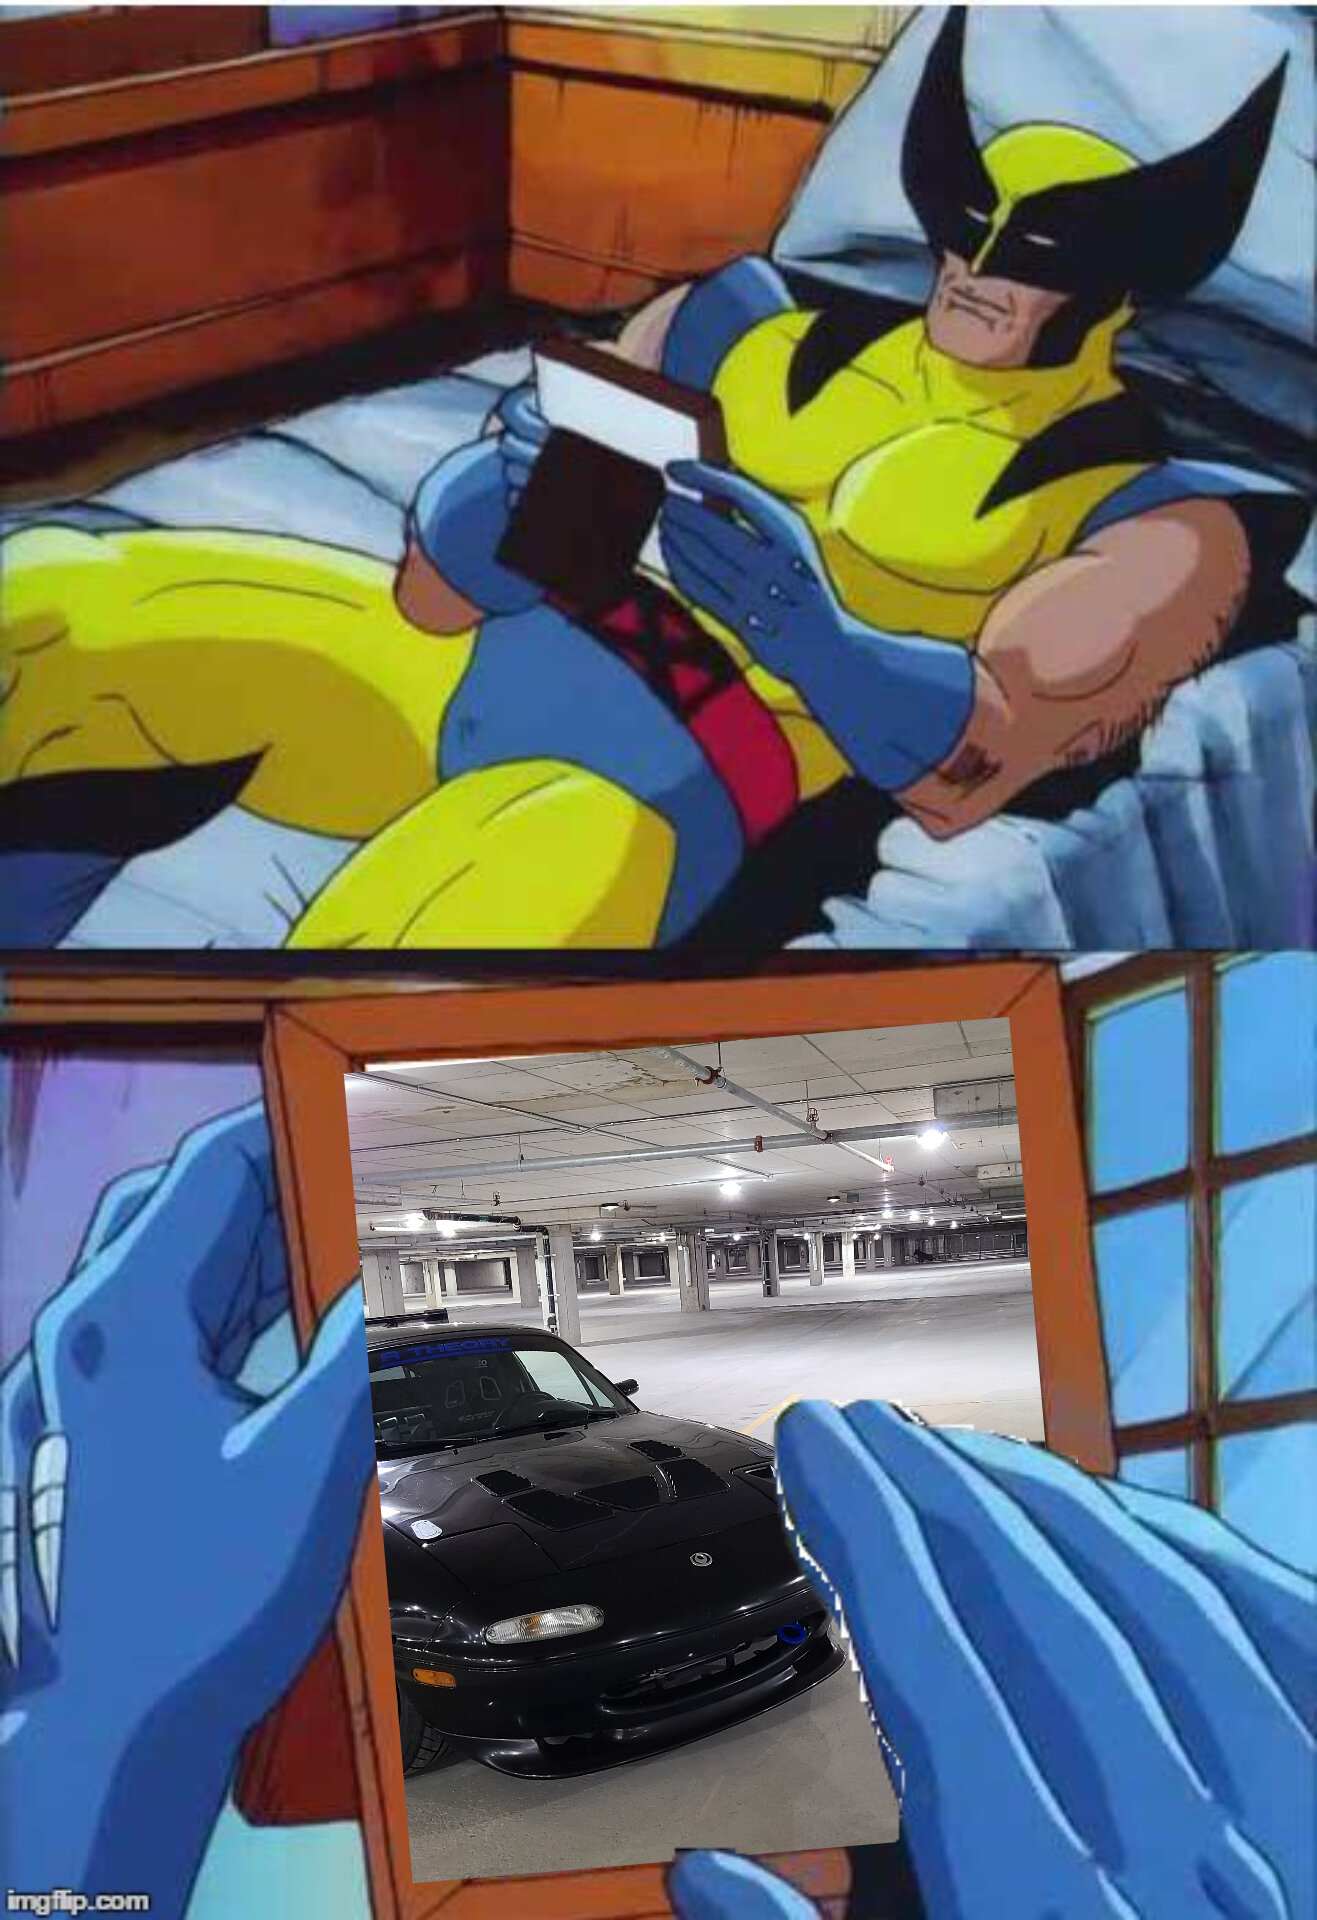
Wolverine_Rtheory.jpeg

If you’re reading this you’re probably a fan of cars, and you might even own a car that you proudly built. You probably take pictures of your mean machine and show it off to friends on social media. Or maybe you keep photos to yourself and look back at them from time to time when you need something to keep you motivated. If so then this blog entry is for you! I’ll be sharing a few “photography tips” that I learned over the years so your impromptu photo shoots come out looking slightly better. I am in no ways a professional photographer, and no where near a pro. I don’t know about complex topics like “composition” and “balancing light curves”. But I’ll help you take your cellphone photos from being “meh” to being “oh not bad”!

Here are 5 Tips to keep in mind during your next photo session.

Tip 1: Rule of 3rds

Have you ever seen a grid displayed on your camera phone’s screen? That grid is there to help you frame where your picture’s subject is. For some reason that I don’t know why (I’m sure someone smarter than me can chime in the comments), but human eyes tend to focus more on the 3rds of each photograph. The lines in your grid are basically at each 3rd of the photograph. So you can use that grid as a guide so you can properly frame the subject in your photo. Note that the lines go both vertical and horizontal. So you can use either just the vertical lines to frame your subject, just the horizontal lines to frame your subject, or both sets of lines to frame your subject.

So if you’re taking a picture of your car in front of a cool background, you want your car to be roughly around one of the thirds instead of up close and in the center of the photo.

This doesn’t mean your car has to be at each 3rd for the picture to look good. It’s just something you can use to spice up your pictures from time to time.

Tip 2: Lights

Proper lighting is important for any photo. Ideally you want the light source (ex. city lights or the sun) behind the photographer and shining onto the subject. If you have the light source behind the subject, it might over power and darken the subject. But some cameras can still focus on the subject without getting overwhelmed by the light. If your camera is overwhelmed by the light, you can sometimes fix it through editing and it might end up looking pretty artistic.

You can also try planning your photoshoots around sunrise and sunset. Those times provide a really nice warm glow that can be used to your advantage when doing photoshoots.

Sunrise and sunset always provides a nice warm hue!

Tip 3: Know your ‘hood

Get to know your neighborhood. Regardless of how boring looking you think your city is, I guarantee you there’s a few spots around your neighborhood or city that would make really cool backgrounds for photos. A cool spot could be a colorful wall, a dead end with a view, or even one lonely street lamp. Explore your city either on foot or on wheels. When you find a cool location write it down. That way when the sun is out, your car is freshly washed, and you feel like going for a drive, you know where to go for an impromptu photo shoot.

Tip 4: Attention to detail

Pay attention to everything in the picture when framing your shot, don’t only pay attention to the subject. Pay attention to the lines in the pavement, the angle between your grid and the lines on the wall. Try to make everything parallel. Also pay attention to things like making sure your shadow isn’t in the picture or making sure your finger isn’t covering the lens.

Oops, someone’s shadow made a guest appearance! It also would be nice if the edge of the building was parallel with the top of the photo.

Tip 5: Learn how to edit

All of the tips so far have been about things to do during the photoshoot. The last tip is about editing after the photoshoot. Play around with editing and learn what you like and what you don’t like. There is no such thing as a perfect edit, everyone’s style and tastes vary. I recommend starting out playing around with Instagram’s editing tools. They’re really easy to use and will help you learn what each function does and how it affects the photo.

When you’re ready for the next step, try out the editing software Adobe Lightroom. The desktop version is a paid software, but there is a free barebones mobile version that is very handy. The editing functions are leaps and bounds better than Instagram. Lightroom also exports your photos in a very high quality resolution, versus Instagram that slightly compresses your photos. It also seems like a lot of pro photographers like to use Lightroom for their edits. So it’s definitely a software that you can use with lots of room to grow.

Before and after a few minor tweaks in the Lightroom app. This is just the tip of the iceberg, you can do so much with the program!

Conclusion

Those are my 5 tips to you on how to better your car photography game. Like I said, I’m not a pro, but I started to implement these tips into my own photos and it definitely did help. My last bonus tip is to be prepared to suck before you get good. That comes with trying anything new. You might suck at first and you might be far away from the end goal. Just focus on hitting smaller goals, make easy and simple 1% improvements everyday. If you can do that, you’ll improve over 300% in less than a year.

Do you have any photography tips? I’m always open to learning new things and would love to hear them in the comments!

Saturday, November 26th, 2016- Track Car Build Guide for the Track Day Noobie

For most car enthusiasts, there's a good chance that you spent a large amount of your early years playing with toy cars on a carpet with a generic city map printed on it. Sofas and other furniture made for interesting race courses as you raced your little brother's or sister's toy car. As we get older, our toys get bigger. You have a bone stock Miata sitting in your driveway and you want to re-live the glory days of racing your sibling around "45 Boulevard St Motorsports Park". This blog is aimed as a guide on how to build the perfect track car for someone who has never driven a car in a high performance driving environment. This guide also applies to most cars, not just Miatas.

Brake Pads

Most OEM (Original Equipment Manufacturer) or equivalent brake pads are intended to work best at lower temperatures that you see during regular daily driving. They are also designed to last tens of thousands of miles of continuous stopping that you do on a daily basis. If you were to expose any brake pad to the hard repeated braking cycles that you see on a race track, you will see high brake temperatures that you will never reach on the street. OEM like brake pads are usually not able to cope with the increased temperatures and begin to loose braking power. It isn't fun when you're flying down the back straightaway of your local track, start to brake for an upcoming corner, and you realize your brakes are cooked... especially when it is your first track day. Lighter and less powerful cars like Miatas and CRXs might be able to get away with OEM pads on the racetrack... BUT there are a lot of variables. Vehicle power to weight ratio, elevation changes, straight away length, and racetrack layouts are all factors that can lead to your brakes getting hotter. Talk to people who have driven that track before and get their advice on whether or not you need to switch to a more durable track duty brake pad. Although I would highly recommend upgrading for safety's sake.

Photo by Deep Gill

Brake Fluid

If you were to do only one modification to your car before a track day, high temperature DOT 4 brake fluid is what I would recommend. OEM like DOT 3 fluids usually cannot cope with the extra heat that racetrack abuse creates. You can tell if your brake fluid is going sour at the track if your brake pedal starts to feel mushy. If your brake pedal starts to get mushy, do a cool down lap or two and go back into the pits to let the brakes cool. Never park at the track with the emergency brake. Use wheel chocks or put your car in gear or else you might weld your hot brake pads to the rotor. Yes it does happen!

Do your own research to see which brake fluids work best in your car. Every car has different needs, different materials in the braking system, which reacts differently to different fluids. You don't want to choose the wrong fluid only to find out the new brake fluid is eating away at your rubber hoses! I personally use ATE Type 200 brake fluid in my turbocharged Miata track car.

Brake lines

Stainless steel braided brake lines are a widely accepted upgrade over OEM rubber lines. The rubber lines are reinforced, but stainless lines expand less and heck they look prettier. One disadvantage of Stainless steel lines is that it can be tough to foresee when they are reaching the end of their life. Rubber lines tend to bulge when the materials inside start dying but stainless steel lines don't bulge at all. So it would be wise to replace them after a few years of use as preventative maintenance. 

Anything Safety Related

As cool as it would sound to live by the race car and die by the race car, no one really wants to see you perish. Safety related mods like a roll bar, fire extinguisher, helmet, and "properly mounted" harnesses are all good ideas for a beginner or a seasoned veteran. It would be unreasonable for you to put a full fire suppression system in your stock Miata, but do whatever you can to make sure your day at the track goes smoothly. That also includes preventative tasks like having a pre-race day inspection list to make sure there isn't any failing or unsafe parts that would ruin your day. There are plenty of other guides online that can shed light on what to check on your car before you hit the track.

**There are endless amounts of safety concerns to take into consideration when driving your vehicle on the track. Every car is different, it would be best to consult with people familiar with your particular chassis.**

The Most Important Modifications

Okay enough boring safety stuff, let's cut to the chase. I will reveal the secret formula on how to be the fastest beginner driver at your local race track! Ready?

Picture by Howard Shek.

Drive! You don't need any more modifications! As long as your car is safe, you can go out to the racetrack or autocross course and learn how to drive fast! Many people do not realize this but it isn't the modifications that make the car fast, it's how the driver controls the car. You can have the most extensive build sheet in the county, but if you don't have the guts or skill to drive your car at the limit "smoothly", you will not be fast. Also there is no point in dishing out large amounts of dough on mods when experience and seat time is what really make you faster.

The more of a beast you make your car, the harder it will be for an inexperienced driver to control it. A new driver will be bound to make more mistakes driving a modified car at its limits compared to a stock car. Even if you do make mistakes in a stock car, everything usually happens at a much slower and more predictable rate. It will be easier to control, and you will more likely have a better learning curve if you are starting from scratch.

Stock Miata doing its thing! Picture by Howard Shek.

Don't get me wrong, modifications make cars faster. We produce and sell modifications and we stand by our products. But the driver has to be able to make use of those modifications. An ideal build would be to start out with a clean slate, and upgrade the car as you progress as a driver and max out different aspects of the car. You don't upgrade your shoe size whenever you feel like it. You upgrade your shoe size when you outgrow your old ones. It's the same with your car.

When my Miata was out of commission, I took my bone stock TDI station wagon autocrossing! Picture by Deep Gil

So when Spring of 2017 comes around, I don't want to hear anyone say they can't go to the track or autocross event because their car is slow and stock. Just drive! After all going to autocross or track events isn't about coming in first. It's all about having fun and going home with the biggest, cheesiest grin on your face.

Liked this blog entry? Agree or disagree? Share your thoughts in the comments section!